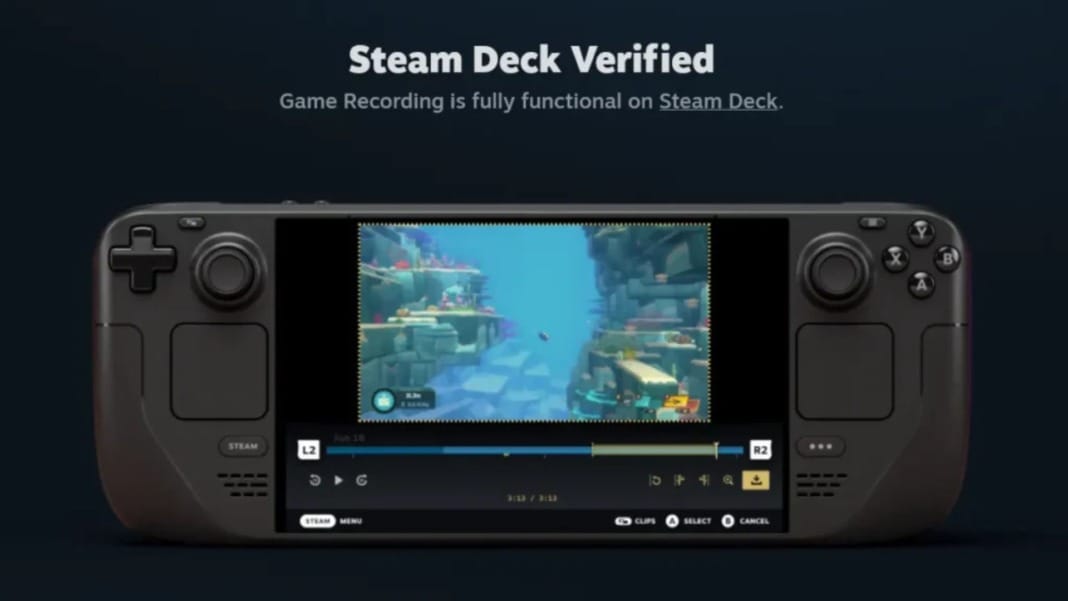
Valve has introduced an exciting feature on Steam: built-in game recording. Available to all Steam users at no extra cost, this update lets you capture, edit, and share your favourite gaming moments directly through Steam. Launched recently after a successful beta test, the new recording tool provides a convenient option for content creators and everyday gamers. Here’s a look at how the feature works and what you’ll need to start recording your gameplay.
Record gameplay with two simple modes
The recording tool works seamlessly across all games on Steam and even supports non-Steam titles. Integrated with Steam’s overlay, it lets you capture gameplay with minimal impact on performance. The tool uses dedicated hardware encoding for systems with NVIDIA or AMD graphics cards, which eases your computer’s CPU load and keeps gameplay smooth while recording. The tool defaults to CPU encoding on systems without compatible graphics cards, which may slightly impact game performance.
Steam’s recording tool offers two main modes: background and on-demand. In background mode, the gameplay is continuously recorded and saved to a designated folder on your computer. This option is ideal if you’d instead capture everything automatically. You can adjust the storage and time limits to avoid taking up too much space. On the other hand, on-demand recording lets you start and stop recording with hotkeys, providing flexibility to capture specific moments as you play.
Highlight key moments with markers
Steam has introduced a timeline and marker system compatible with both recording modes. You can add markers manually or let Steam mark moments like achievements, making finding and editing the best clips easier. This feature is handy for capturing highlights, allowing you to quickly trim clips to create shareable segments.
Steam also offers multiple options for exporting clips. You can share them directly through Steam, export them as MP4 files for other platforms, or transfer them between devices. This means videos recorded on a Steam Deck can be edited and shared from your PC, providing gamers with on-the-go flexibility.
Getting started with Steam’s recording feature
Ready to start capturing gameplay? Here’s a quick setup guide:
- Open Steam and go to Settings – Access Steam’s settings menu.
- Go to the “Game Recording” section – Choose recording settings, including storage location and video quality.
- Enable Steam Overlay – Ensure the overlay is active for any game you want to record.
- Set up hotkeys – Customise or use the default ones for quick recording control.
Steam’s built-in recording tool provides a user-friendly alternative to popular options like NVIDIA’s Shadowplay. It’s available and accessible to all Steam users, making capturing and sharing your gameplay easy without additional software.


